
This week we have a quick look at thermodynamic and 3D printed prototypes. Sounds fancy I know but there is several practical lesson’s leant this week. As part of the expansion of our FatigueM8 trials we had to purchase additional hardware and as is typical with technology hardware there was a new model for one of our components. Using the tried and true “bigger and newer is always better principle we upgraded. In a previous post we looked at the change in USB and network port location, if you haven’t read it already you can find it here
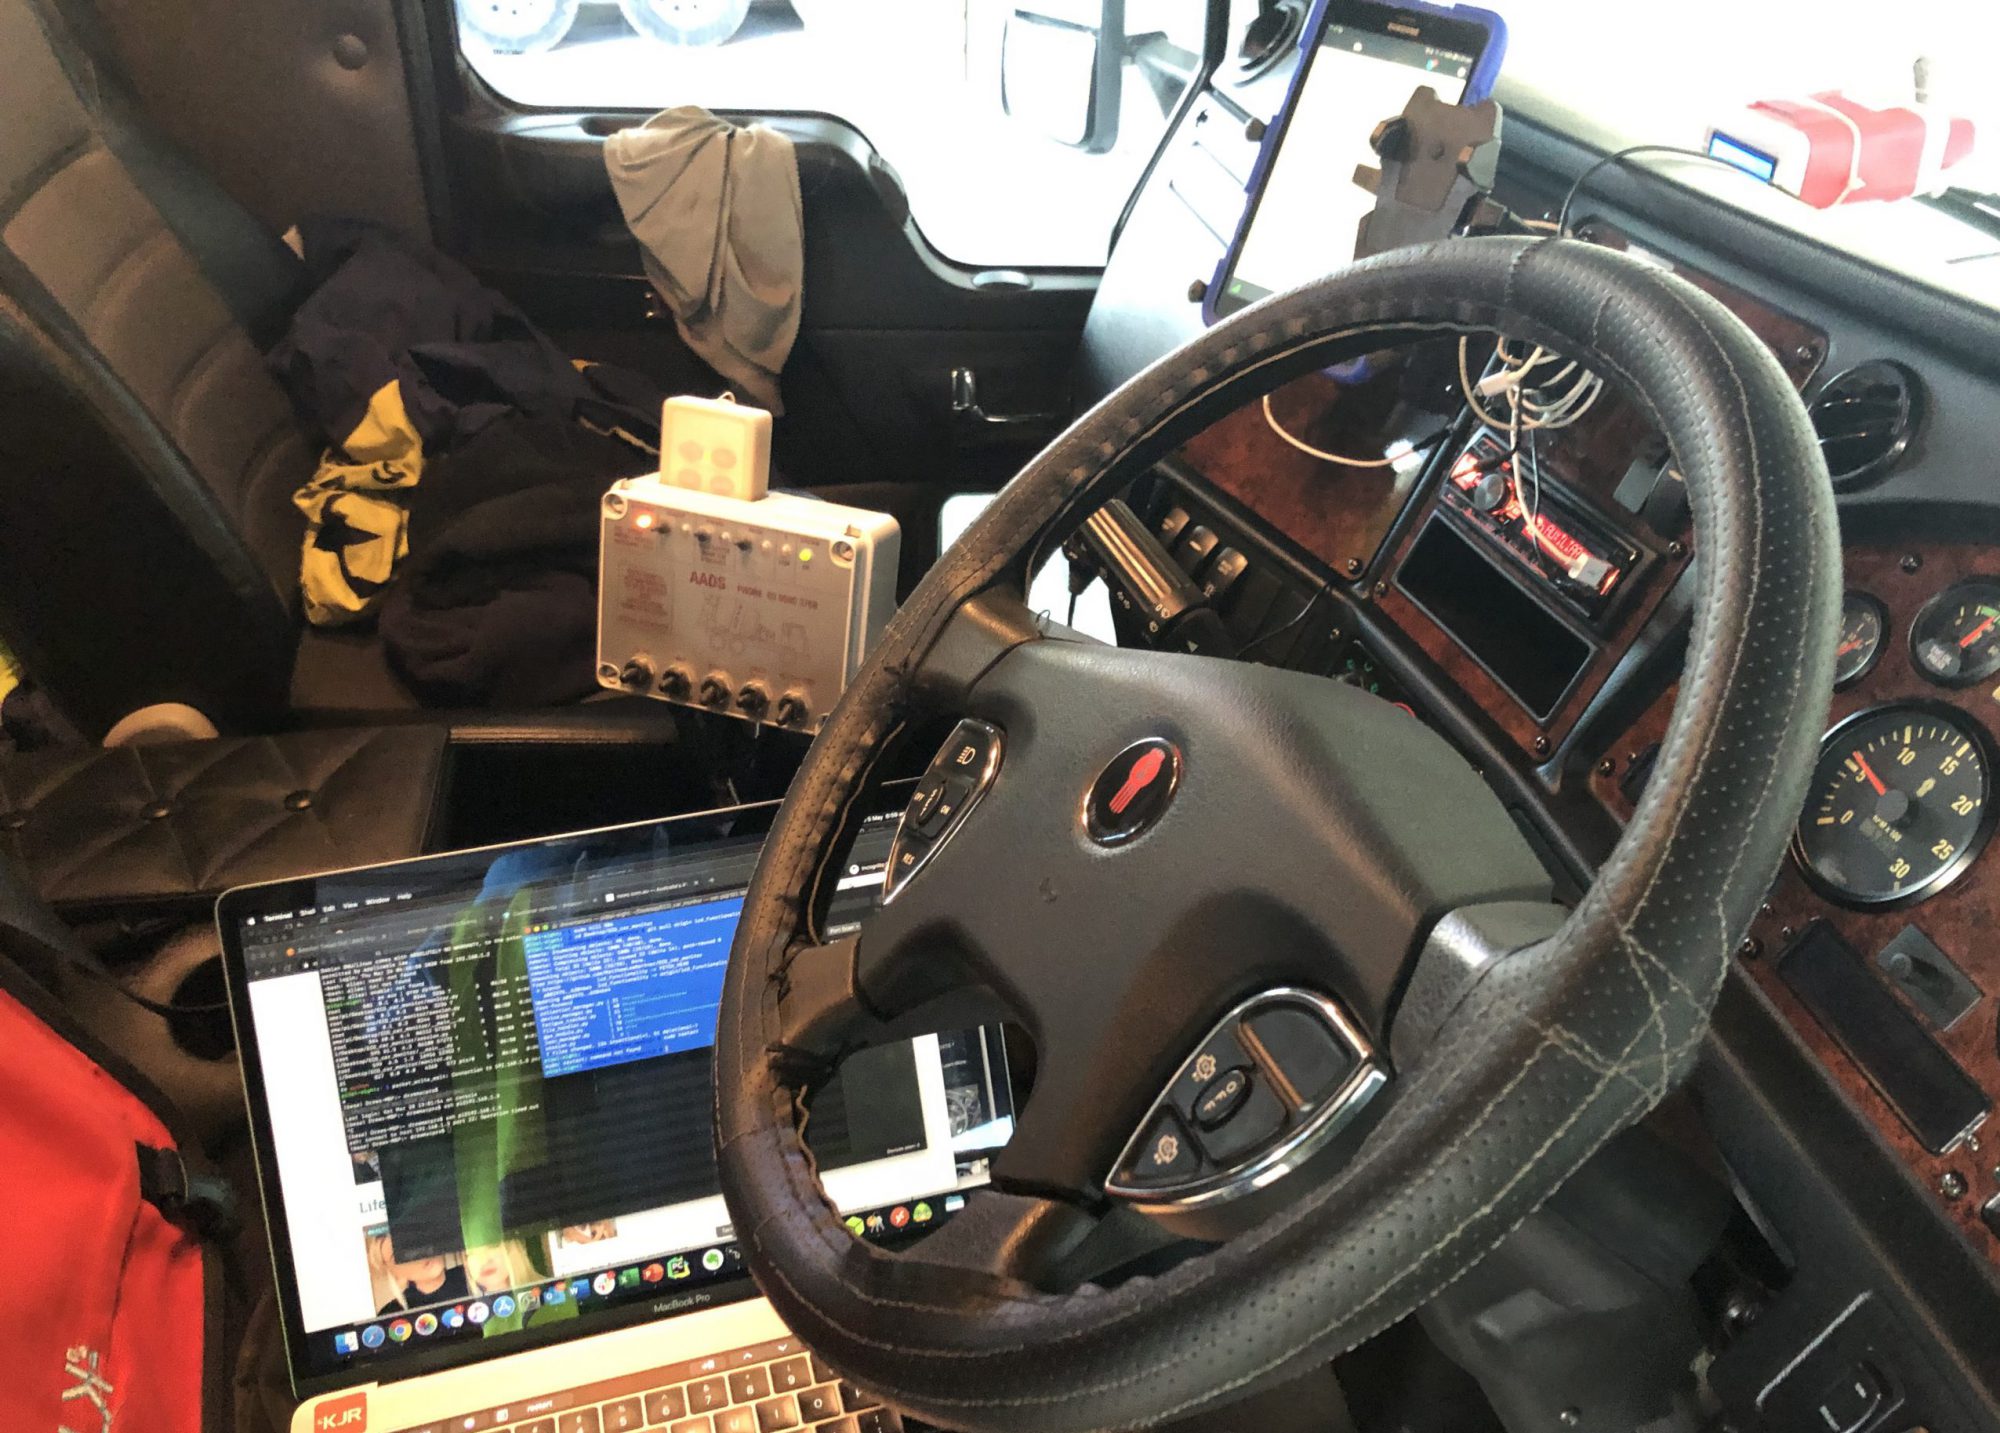
Having overcome the port switch, using our bush mechanics skills, fast forward a few months and we noticed some reliability issues with a couple of the devices, odd error messages started to occur python modules “missing” and some other strange/uncharacteristic errors. Dr Google suggested that these were the result of a corrupted hard disk, which I thought was odd as we hadn’t had any corruption issues with our earlier devices. Initially I thought this corruption may have been caused by heat, as it turns out the new model is bigger and better, which in electrical devices typically generates more heat. We ran a couple of tests and did see that the knew model runs about 10 degrees hotter than the previous generation. 10 degrees is a reasonable difference and we thought that allowing some more air flow through the FatigueM8 might do the trick. It was simple enough to drill some 25mm holes through the sidewalls if the unit (see photo below).

Our units are made of a 3D printed resin and it is easily modified; and as it turns out easily heated by the spinning drill bit! In hind sight I should of obvious that when I used a hole saw to drill bit to drill the holes the friction of the drill bit on the plastic resin would generate heat. It wasn’t until I tried to pull the cover off and re-install the compute unit that I realised by drilling the holes we had fused (melted) the inner and outer casing together (doh)! If you look closely at this picture you can see the merged black and green layers.

The only way to recover the inner casing for re-deployment was to break the outer casing and that was the end of that cover.

Luckily we keep a range of spares!!
The modifications allowed for more airflow and with a rebuilt hard disk back into the trial we headed. While the modification appeared to increase air flow and reduce the temp slightly, on re-installation into the test vehicle the compute unit reported several new errors. These errors again I referred a corrupted hard disk. Luckily, the compute unit has a built in hard disk test program and what do you know, the old spec hard disks aren’t sufficiently fast to handle the speed of the new compute unit leading to segmentation faults and disk corruption!!
The hard disks the mini-computer uses are pretty cheap, with then original units were in the order of $10 each and the new version will be $20 a unit. Fingers crossed we have this little hiccup sorted now.
Until next time, stay save.